

Learning Studio Lighting
+ Some of case studies & 5 lighting breakdowns

I was recently asked where I learned lighting, and it was funny because my immediate response was, “I’m still learning it.” That question got me thinking about how intimidating lighting can feel, especially for photographers just starting out. It’s something I’ve struggled with too, but over time I’ve realized that lighting is less about technical difficulty and more about problem-solving and confidence.
The truth is, the actual mechanics—plugging a cord into a light, setting it up, attaching a light modifier—isn’t that complicated. What feels overwhelming is the unknown, the trial and error, and the fear of doing something out of your comfort zone.
As I’ve spent more time on set, I’ve realized that no one sets up lights and magically gets it perfect on the first try. Every shoot involves assembling lights, positioning them, and then constantly adjusting to find the right setup and achieve the desired look. It’s always a process of trial and error and problem-solving.
This approach applies to more than just lighting—it’s a mindset for handling challenges in general. When something goes wrong, especially in front of a client, it’s crucial to stay calm, take a breath, and avoid freezing up. With a bit of thought and adjustment, there’s always a way to figure it out. Confidence and composure are key.
How do you gain this confidence you may ask? I will tell you…
Firstly, you must simply practice. Rent or borrow lights and start incorporating them into your tests. A job comes up needing lighting? Say yes even though it’s out of your comfort zone. You can find practically any tutorial/setup instructions on YouTube. I am lucky enough to have a friend with some strobes that I have been borrowing more frequently over the past 8 months. I also had an ex with some continuous lights that I would borrow. Both gave me more confidence in simply setting up a range of lighting models.
Do your research - we are lucky to live in a world where more and more information is being shared online at our disposal. Below are some notes I’ve taken while learning about lighting online. In a Part #2 to this post I will also share some of my favorite resources/videos to learn about lighting .
Apart from basic setup, there are a few other things that you can brush up on to elevate your lighting and show up to set looking like a pro. The first being modifiers and what they do and how to control the spill of light.
All About Lighting Modifiers
Light modifiers are tools used in photography to shape, control, diffuse, or direct light from a source to achieve a specific look or mood.
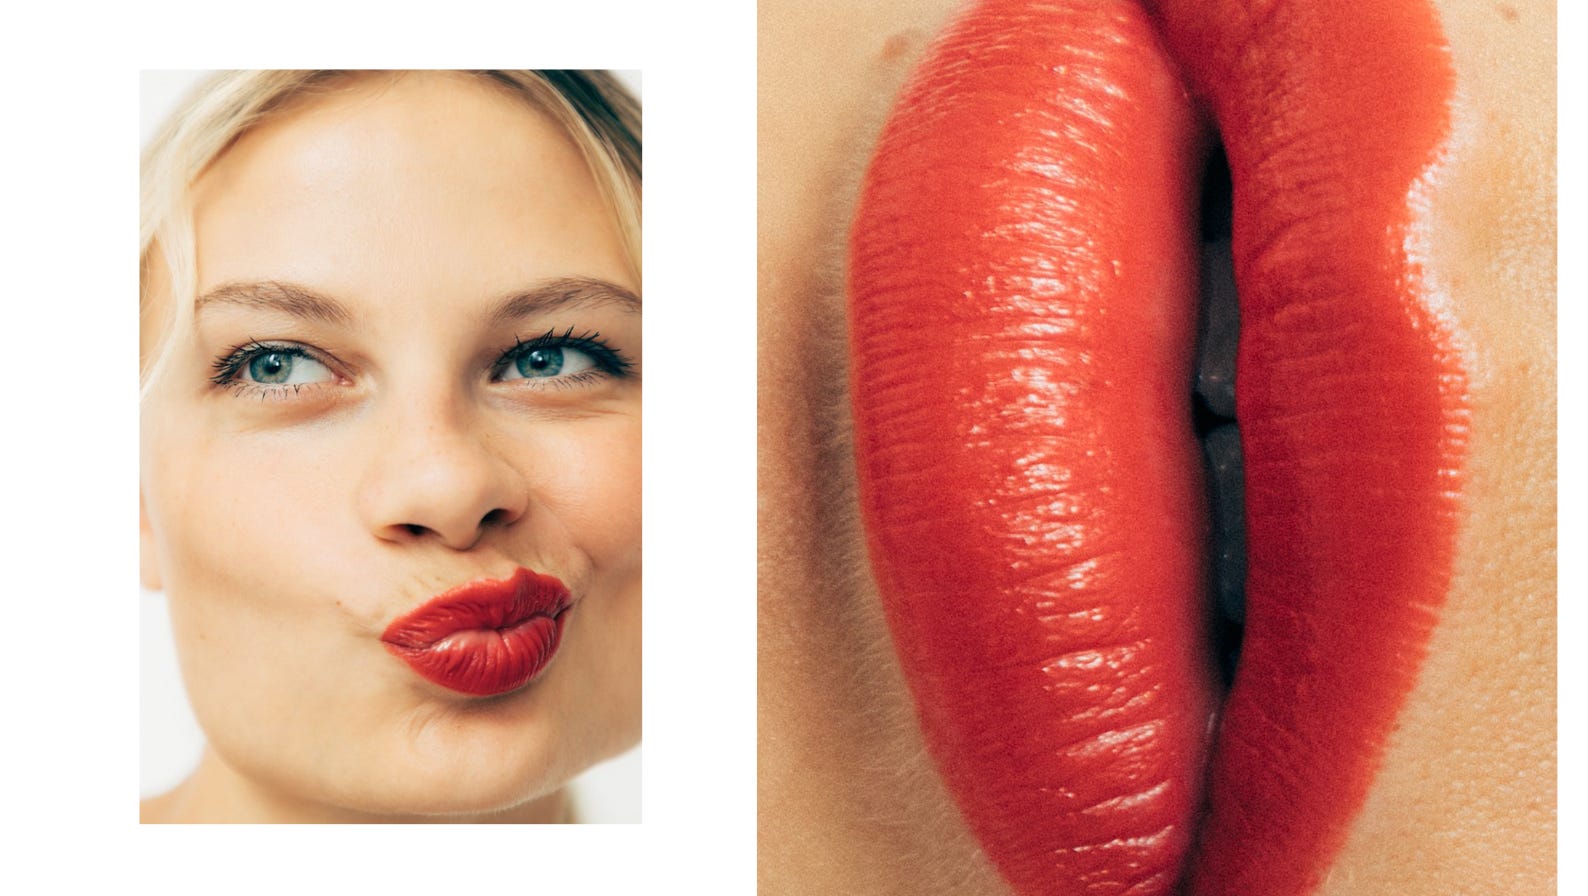
Softboxes create a soft, even light that reduces harsh shadows, perfect for beauty or editorial shots.
Reflectors bounce light onto the subject, filling in shadows for balanced lighting.
Barn doors help shape light, control spills, and add definition to a scene.
Snoots create tight, controlled beams of light beams, resulting in sharper, more defined edges. Snoots are typically used for dramatic highlights or rim lighting by focusing light onto a precise area.
Grids - typically made of metal or fabric and consists of a honeycomb-like pattern of cells. They work by cutting off or blocking light that would naturally scatter outward.
Beauty dish creates soft, yet crisp light that enhances the model's features with subtle shadows, often used in high-end beauty campaigns.
Gels can be used with modifiers to add color, adding a creative and dynamic element to the image.
A Fresnel concentrates light into a specific beam angle, producing a focused and parallel beam of light. It's often used to mimic sunlight due to its ability to create a natural, directional light source.
Umbrellas (Silver or White): Silver creates punchy light showcasing lots of detail and deeper shadows, while white produces softer, more even lighting. Deeper umbrellas offer more control over light shaping and direction, creating a more focused and controlled output. Shallow umbrellas allow for more light spill and spread, resulting in a softer and wider light distribution.
Control over Spill
Studio lighting needs precision, especially in fashion, where the set or background plays a role in the final image. Modifiers like flags and grids help control light spill, ensuring the light only falls on the subject and doesn’t unintentionally affect the background or other parts of the set. V flats are also great for controlling spill - especially when you light the background separate from your model.
Some other things I recently learned
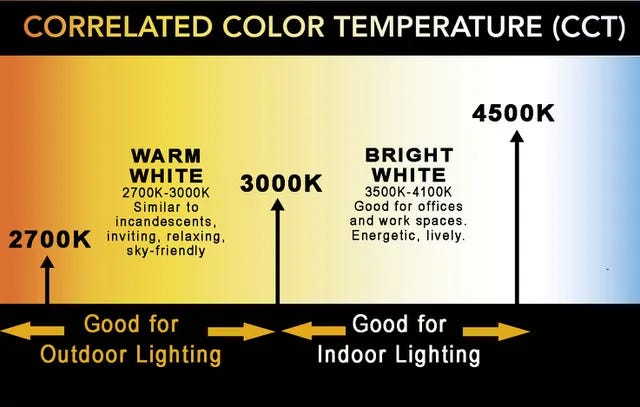
CCT stands for correlated color temperature
HSI stands for hue, saturation, and intensity, which you can use to create colored light—anything from purple to greens to reds etc.
Feathering Technique - a technique where you use the edge of a light source, rather than pointing it directly at your subject, to create a softer, more gradual transition of light and shadow.
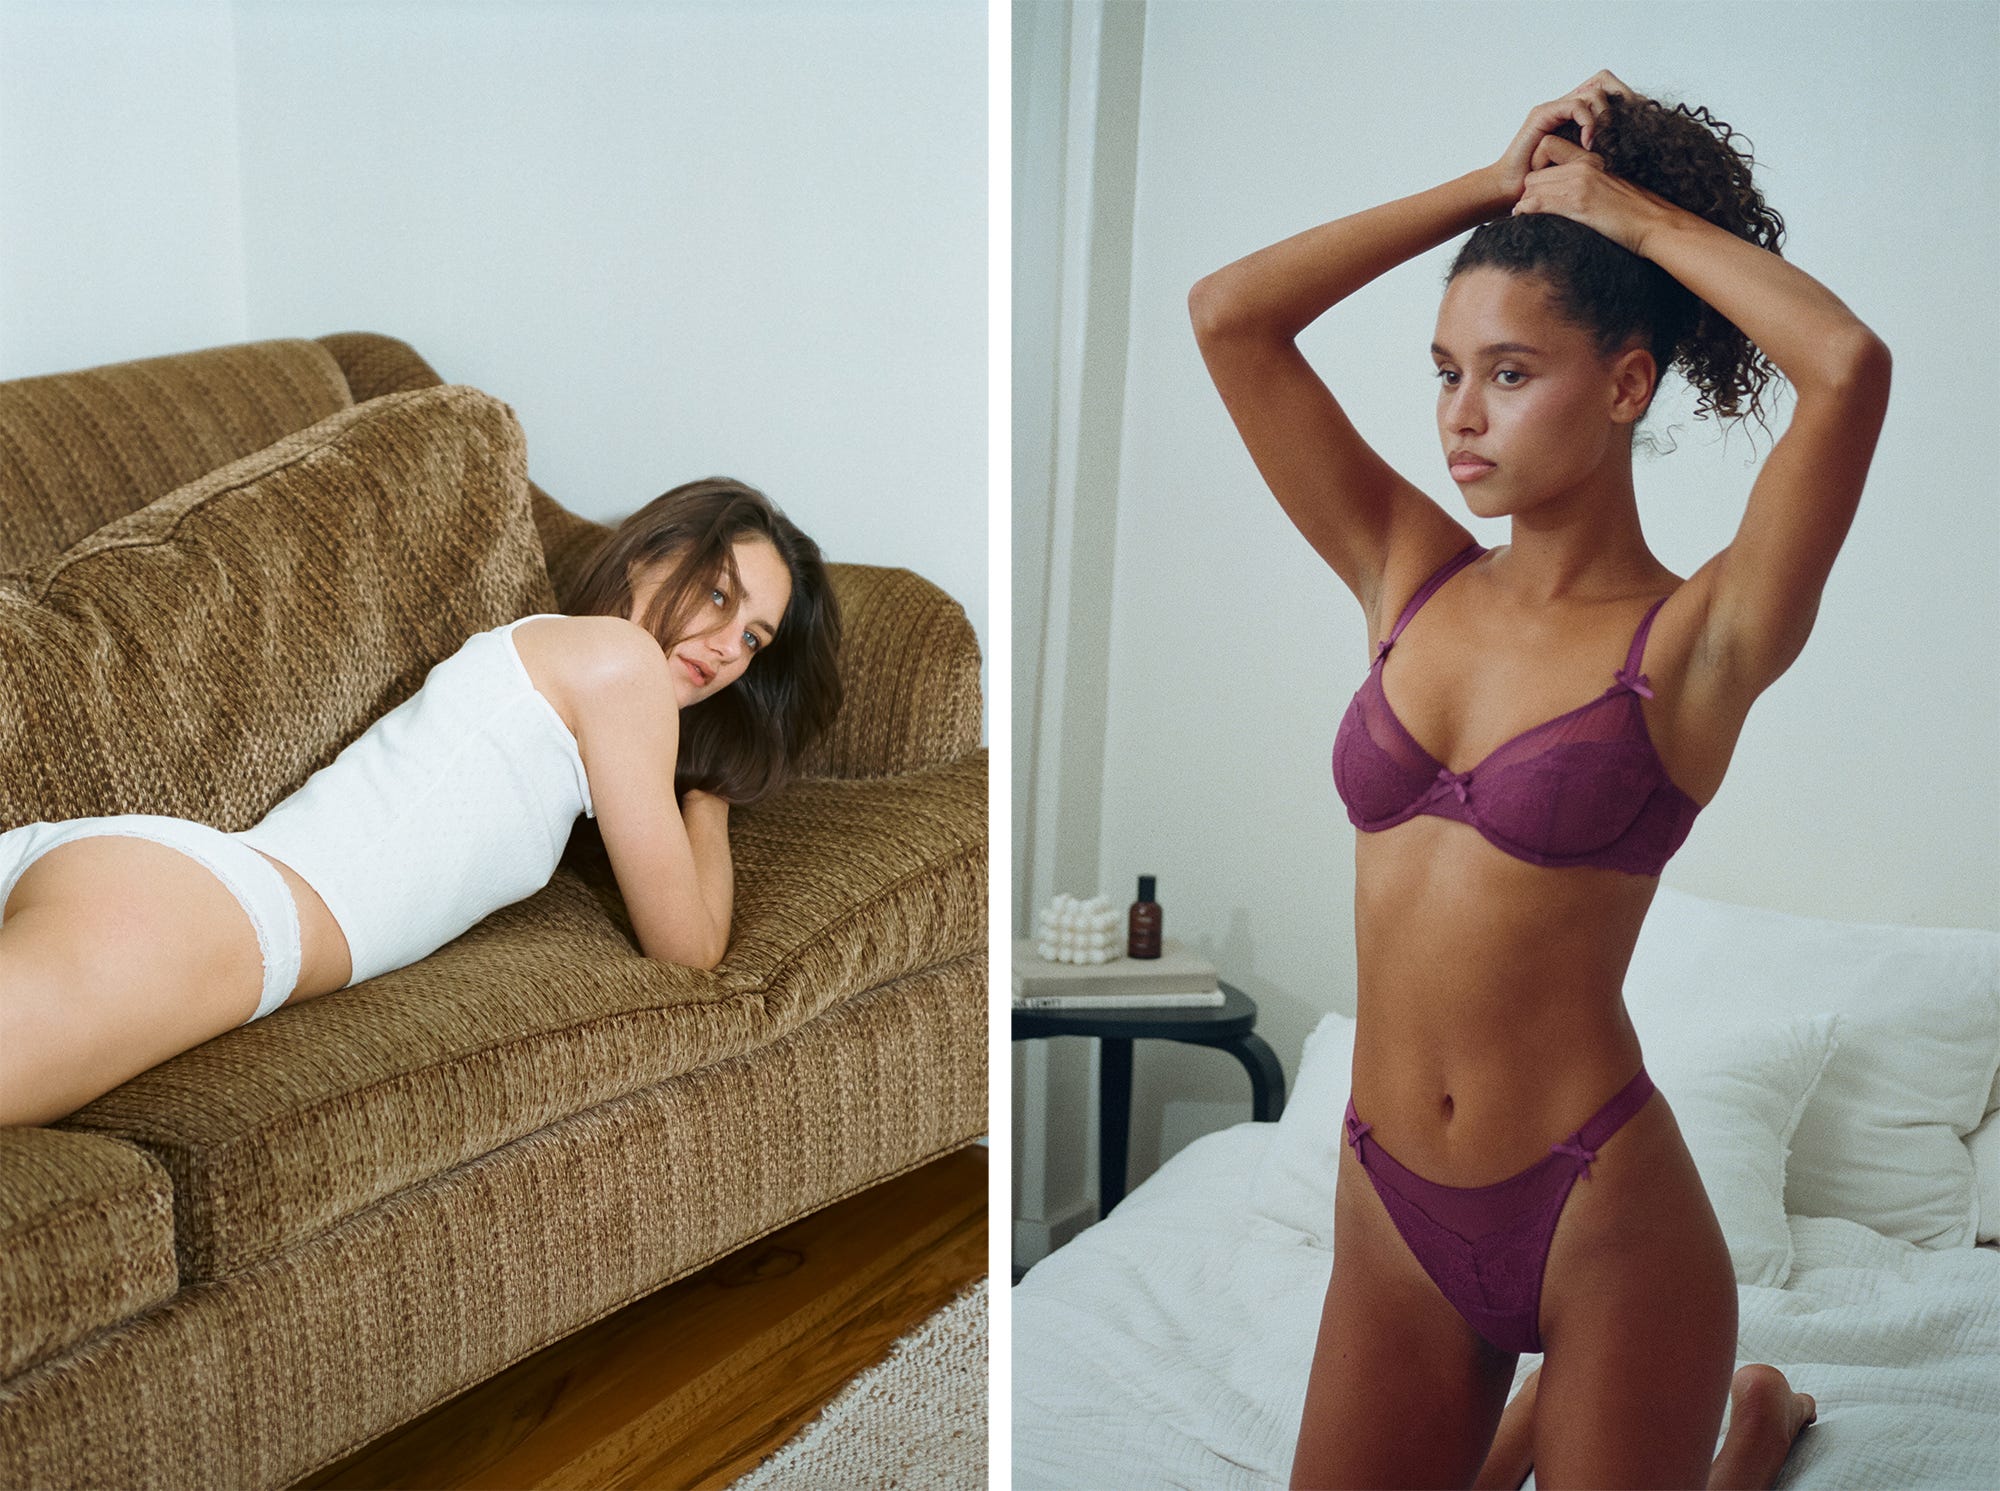
Another tried and true technique is just simply reflecting a strobe on the ceiling to get a more diffused natural look. See photo above to the left.
5 Lighting Breakdowns
Easy Ecommerce Setup, Beauty Shoot Setup, and a Funky Lifestyle Campaign
Keep reading with a 7-day free trial
Subscribe to In Focus to keep reading this post and get 7 days of free access to the full post archives.